I won’t go into detail, you can see all that for yourself in the Carrera review section, but the M20, obviously built solely for magnetic track racing, was not going to behave competitively on the painted blacktop! A few laps at speed confirmed that and it was then a case of noting the foibles, then in the comfort of my garage the next day, carry out as many ‘fixes’ as I could before the next race night.
Front tyres radiused and scored lightly
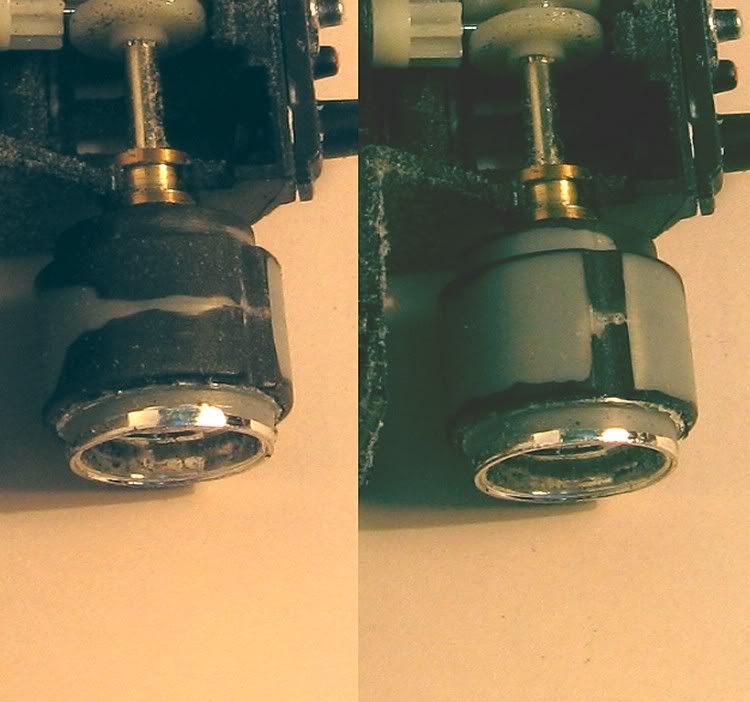
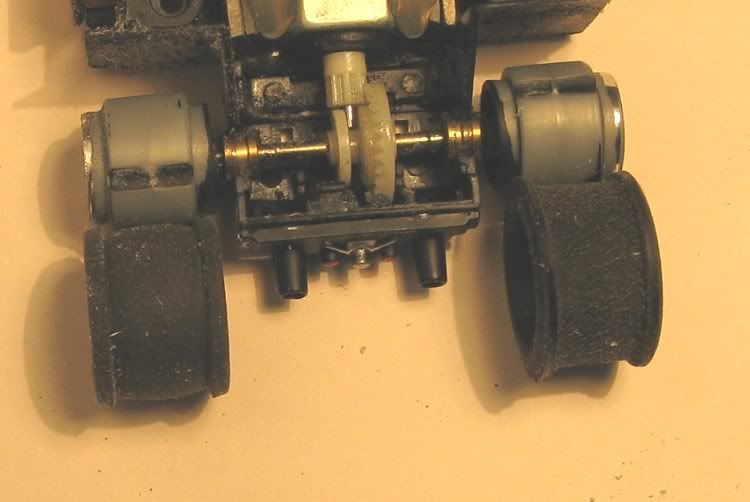
First up was the models tyres, these were hard to sand and were of the old type compound we got on models five or six years ago. Firm and a bit irregular in profile. Sanding at the track didn’t work and eventually, when I was home, I removed the tyres and mounted them on blank hubs in a drill press and using some 120 grit emery paper and a flat edge I sanded the outer edges away till the tyre centre section was at the same level as the tyre edges. The edges too had a radius sanded on them to minimise any unwanted track antics. The front tyres had a similar treatment and besides sanding a radius across the tread area, I cut five small grooves into the tread face. This was to minimise front tyre grip when they were side slipping in corners. I have also glued the front bearings in place. These were held forward and down while the glue set, giving them a bit of ‘toe-in’. This was to reduce the amount of toe out generated by the sloppy fit from the factory.
An braid
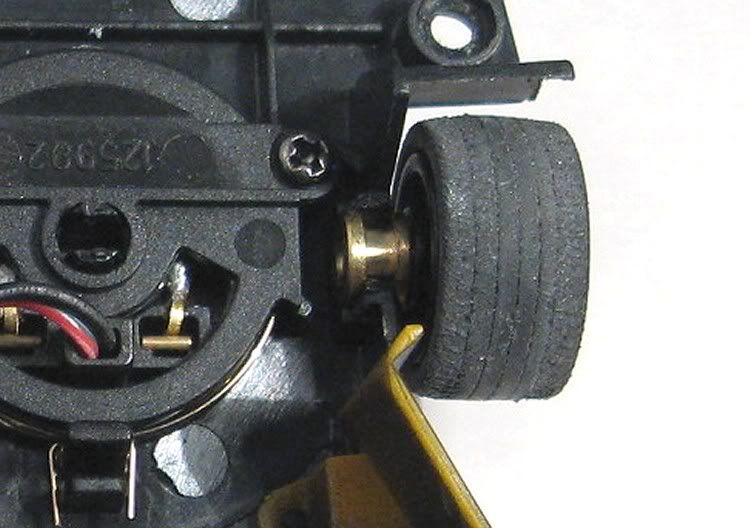
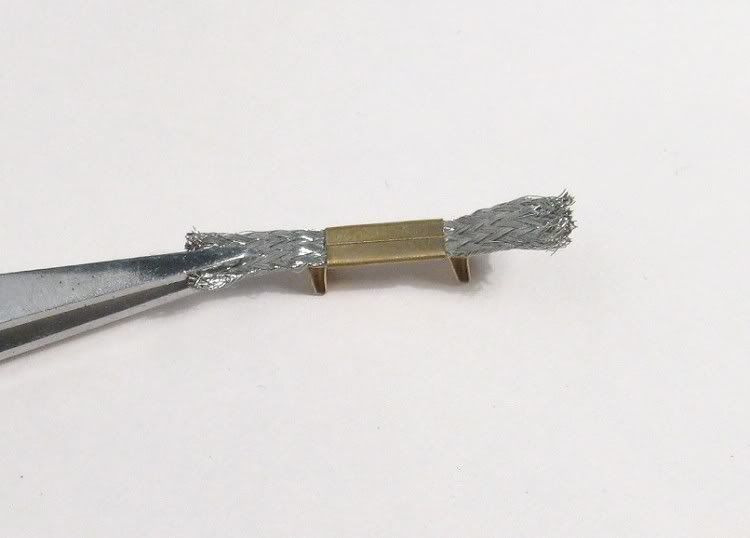
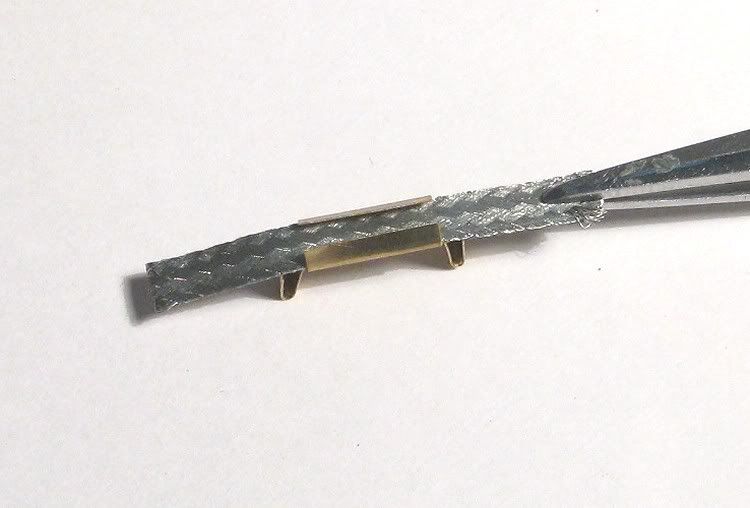
Next was the braids. In a non magnet set up the front tyres didn’t touch the track. The braid material was harder than most and the braids had jacked the model clear of the track at the front. The solution here was to carefully open the braid holders with the pointy end of a modellers knife and substitute the braid material with some softer compound tinned competition braid. The braid holder was then pressed back together again with a small pair of pliers. While I was at it, I fitted the smaller guide keel which I had hollow ground with a dremel to improve its tight corner capabilities.
The trimmed guide with new braids
The new braid material in place
The new braid
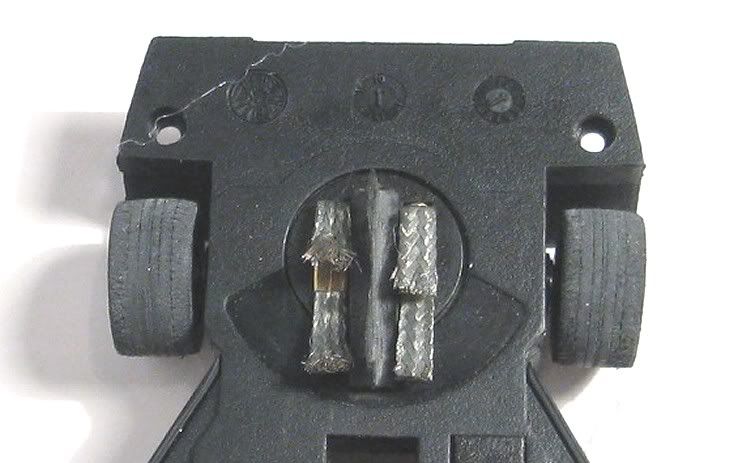
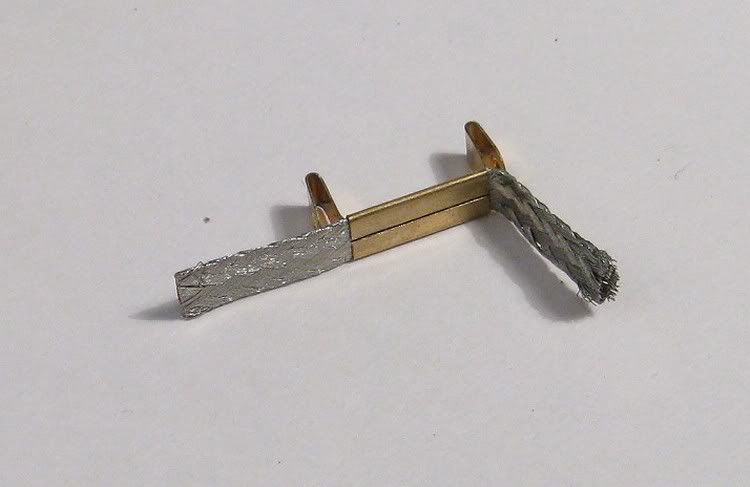
New braid along side old
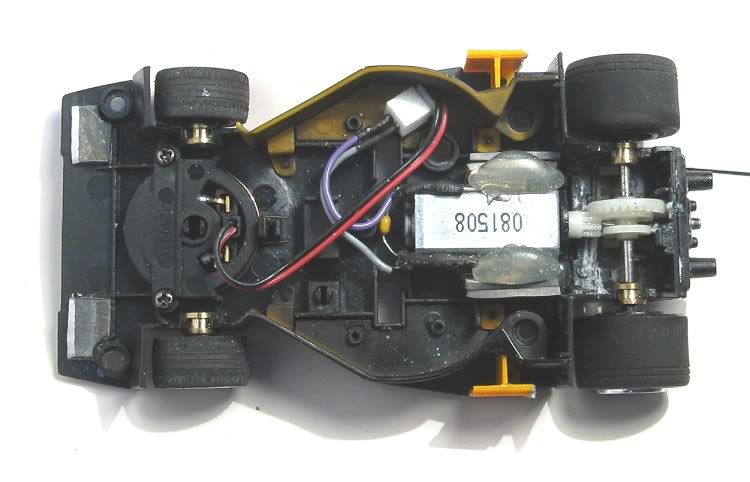
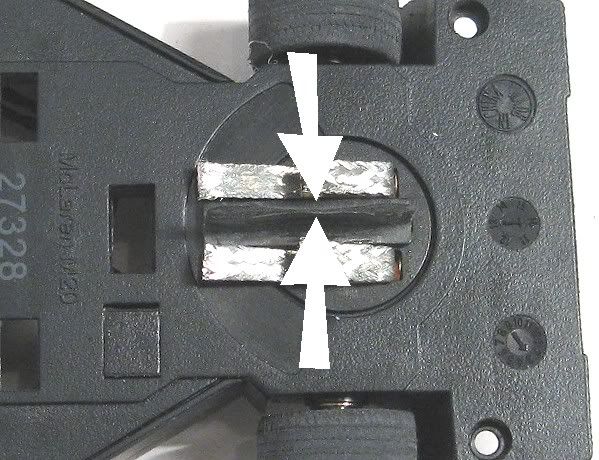
A couple of other things I wanted to deal with while it was apart was reducing the model weight at the front. I removed the front bar magnet. The screw to the polarity switch is removed and the switch and magnet will fall out. The switch was removed from the power input line by the two miniature plugs. The remaining plugs can then be pushed back together to restore continuity. The model was then set up on the scales again and I had saved about eight grams in all and shifted the C of G back a little way. Because the motor is able to move in its cradle if provoked, I decided to add a little weight either side of the motor. The hot glue was heated well and a small spot was placed to one side of the motor. Some pre cut lead ballast was then pushed into the hot glue. This was repeated on the other side. Once in place, the remaining gap down the side of the motor was filled with hot glue. Hopefully this will hold the motor in place also.
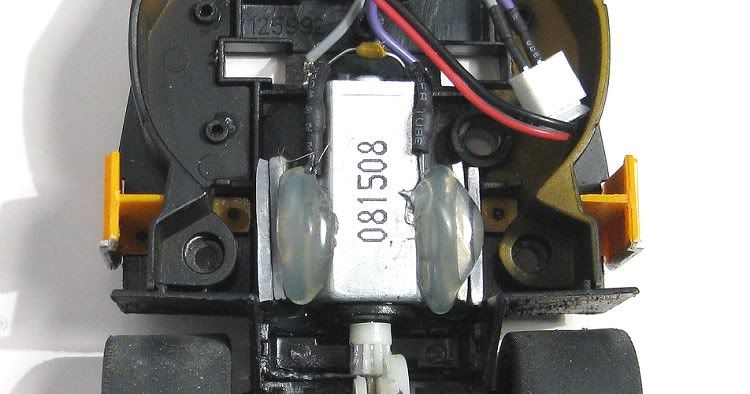
Ballast in place
This has brought the model up to ninety five grams! Is this too heavy for local racing? Only time will tell. If the model had been running on urethane tyres I might have been inclined to make it a little lighter, but, as the wheels are unusually wide for an RTR model I will be running on the tyres for a while no doubt, and the extra weight should do the trick.
I’ve left the guide spring in for now but it is on the ‘to watch’ list at its next outing. Everything else might need some minor adjustments but I am fairly confident I have got it closer to what I’m looking for. This coming Friday and Saturday should be educational and maybe not too much else will need to be done. In the meantime, who will be first with the urethanes??