


A Novice’s Story. By Paul Robinson
For the last 12 months I have been buying, racing, tinkering and generally enjoying the hobby of Slot Car Racing.
During the 1970’s, when commercial slot car tracks abounded, I used to frequent a couple of tracks in Brisbane, Australia. I had my own basic car but did not tinker very much with it.
All this has changed some 30 years later with the purchase of my first Scalextric Slot Car Set. To be more precise, Slot Motorcycle Set.
As a long term motorcycle rider, it was with great pleasure that I discovered the Scalextric Moto GP 3 Set in December 2005. The dealer gave me a great deal on the set and 2 cars, which I was not particularly interested in at the time. I think he knew more than he was letting on.
Straight home and a quick tidy of a bench in my garage had me piecing together the approximately 9 metre long track. Within minutes I realised that the Moto GP bikes, whilst very well detailed, were rather prone to de-slotting as they have no lean angle and were very fast and consequently hard to control. The cars then came out to play and I was hooked. The rest, as they say, is history.
Now it is January 2007 and I have a 34 metre Scalextric Digital track, 24 digital cars, some pre-chipped and others chipped by me, 20 analogue cars and I now visit several tracks and shops around Brisbane on a weekly basis.
Anyway, back to the main story - my first attempt at building a slot car from scratch.
This is not about cutting plastic/brass/PCB to make a chassis and wielding a hobby knife like a berserker on plastic bodies, but about starting with a mass produced build-it type kit to ease myself into this part of the hobby.
Suffice to say it was a great learning experience. Encouraged by some of the many wonderful people I have met in the hobby, I proceeded to dismantle the box and it’s contents. I hope the following pictures and brief descriptions will help others to make the leap into building your own.
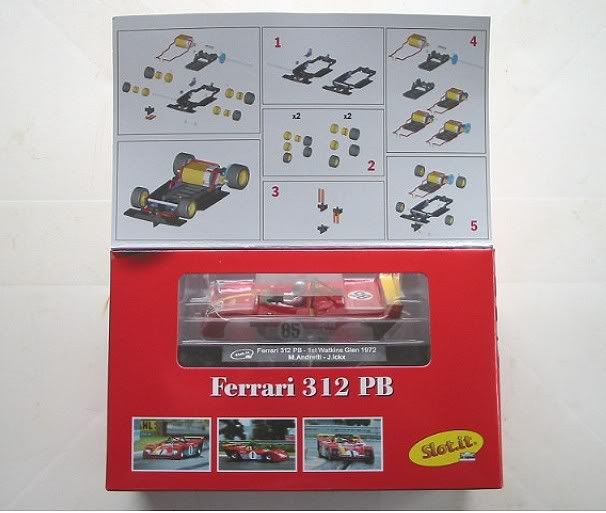
First: The Parts
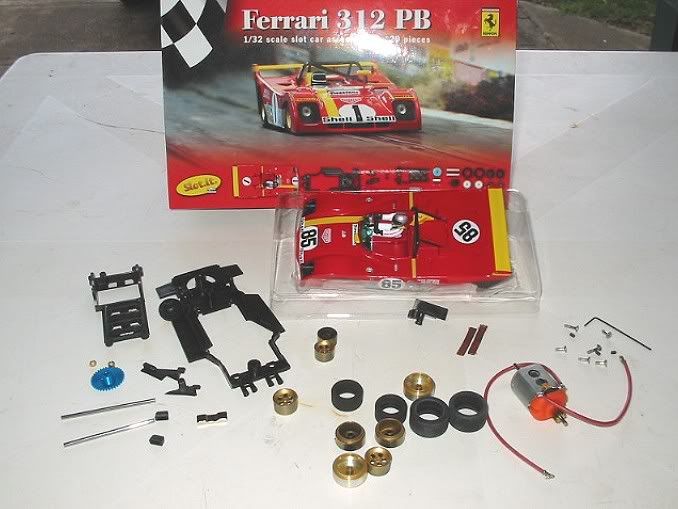
As you can see there are about 35-40 parts that make up this particular slot car. Packaging is well made and attractive. The instructions are on the underside of the box lid and very self-explanatory.
Second: The Chassis
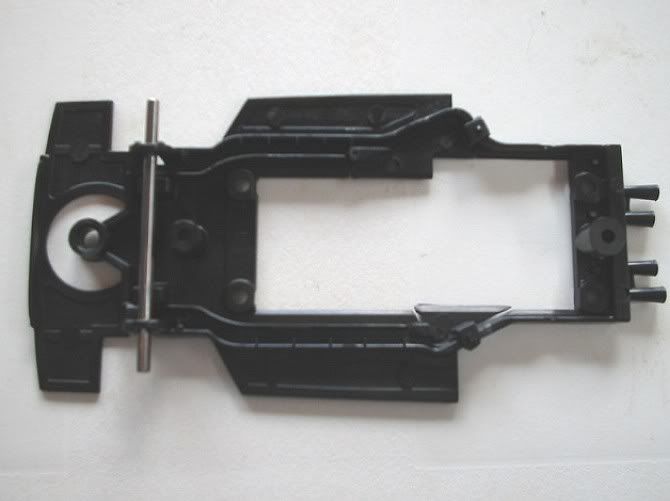
Only 5 components and the axle in this stage. A very easy start.
Third: The Motor and Mount
Another simple task with only 5 parts required. The motor, motor mount, magnet and two bearings for the axle slotted together well. The motor fits very tightly to the mount, so care should be taken not to damage any part during this procedure.
Fourth: The Wheels
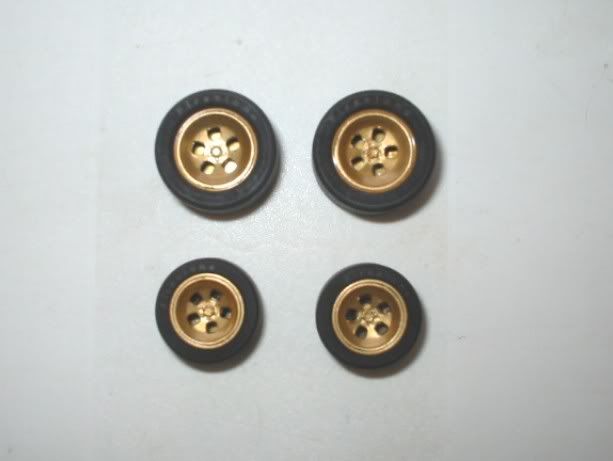
Yet again, a very simple job. Wheel, insert and tyre all fitted together very easily. The tyres have the manufacturer’s name printed on one side so watch for this when fitting them. Of course they are so soft that it is not a big job to change them if you get it wrong.
Fifth: The Gear
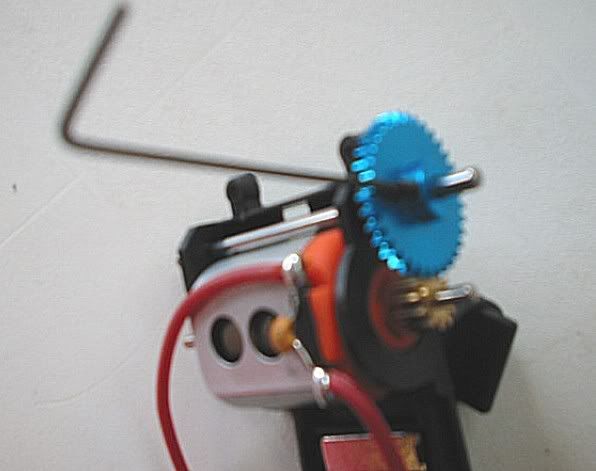
Fitting the gear was very easy using the small grub screw and allen key supplied.
Orientation of the gear is obvious from the instructions.
Sixth: Fitting the Wheels.
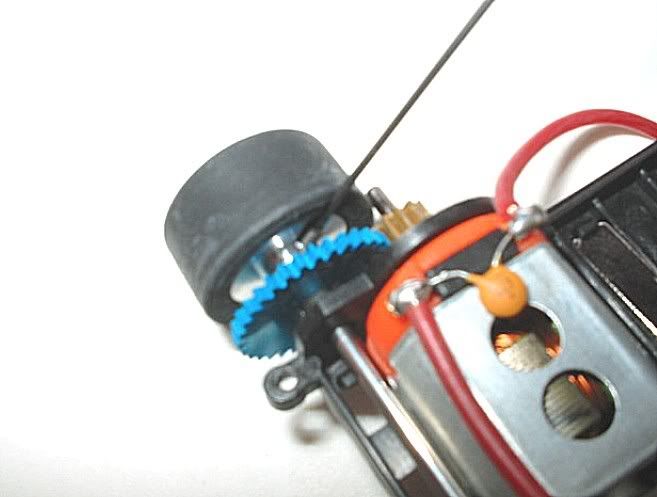
With the same size grub screws and allen key used for the gear, this was also a very simple task. Adjustment of the gear to pinion alignment was done now with spacers for the wheels as they were fitted.
N.B. I needed to re-position the pinion to make the alignment more suitable. A gear puller was a necessity at this point. I am not sure if this would be a mandatory item for other models of this type. Remember these cars are still mass produced and subject to small differences from model to model.
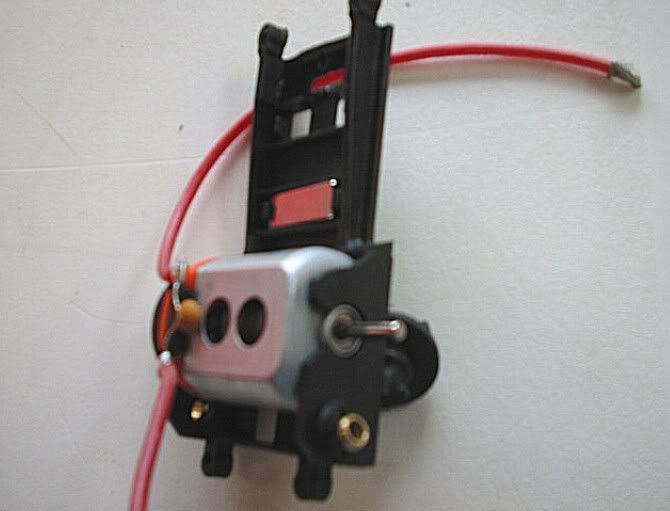
Seventh: Motor to Chassis
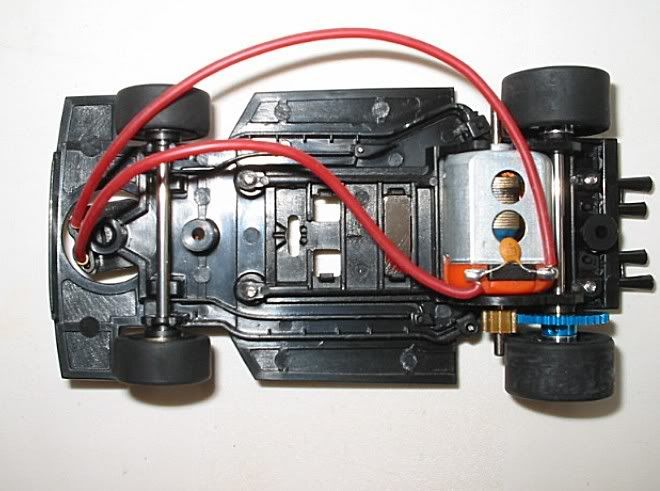
At this point the motor in its mount was fitted to the chassis along with the motor wires to the guide flag and braids. Four screws for the motor mount. The wires were a push fit into the guide flag and braid and required no soldering. All in all a simple but effective system.
Eighth: The Final Check of the Chassis
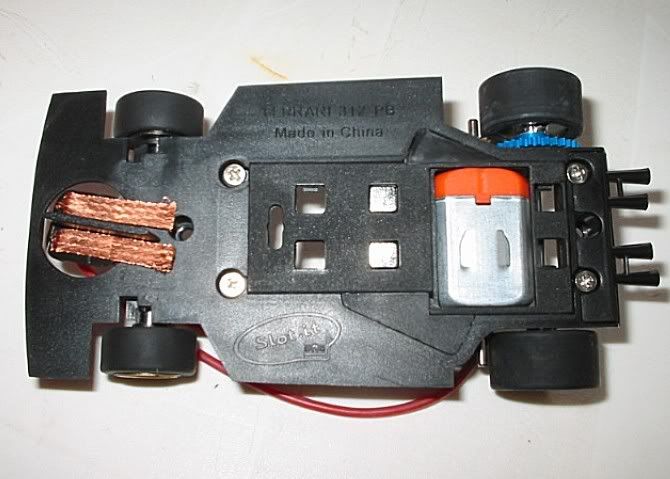
After checking the gear to pinion alignment, the wheels and tyre fitting, the side play in the axles and the wires to the braids I decided that the chassis was complete. Do I now test the car without body or finish the job? What the heck! I need to make sure the wires are attached the right way. Don’t I?
Ninth: (Optional) Testing the Car
No picture for this one as I only have a 3-4 metre analogue track for testing purposes. Success! The car runs the right way.
Tenth: Body Fitting
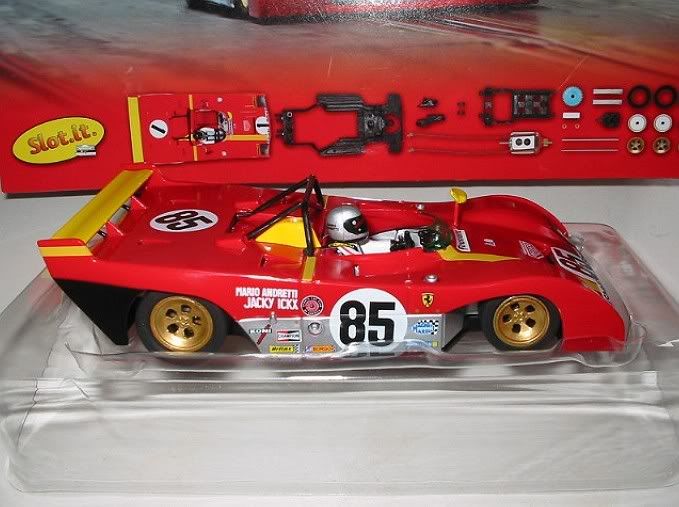
Two screws and a little push and the car was complete. What a great looking model. I don’t know if I want to take this out in anger on the big, fast tracks I visit. Anyway, the feeling passes and I can’t wait to get over to one of the tracks. I then fiddled a little with body roll by loosening the two screws and this is where my only criticism of the kit comes into play. Whilst handling the finished model to loosen the screws I heard a small ‘crack’ and felt a small piece of plastic fall into my hand. Yes, you guessed it – the mirror! This fragile component broke all too easily and I decided to leave it off for racing as I figured it would break again soon, anyway. Maybe Mr. Slot-It could have this part as a separate item preferably with a rubber stem to be fitted as and when the owner requires.
Eleventh: The First Run
Fast! Fast! Fast! Is all I can say. This car was very smooth and quick in a straight line. It was a bit taily through most corners but a bit of tinkering with tyres and body roll should eliminate this. I am still too much of a novice to try and tell you all what to do about this.
I have since spoken to a couple of other people who also have this model and the fitting of a little weight or the moving of the magnet to an already moulded position in the chassis made a difference. Ultimately, I have added another magnet and, so far, have been very happy. More playing and fiddling with tell.
I hope this article helps some of you to take the plunge into the world of building as it really is not too difficult and very rewarding.
Now it is on to my next project. Where did I put that ’32 Hot Rod plastic kit?