


Track setup
By Phil Wicks
For a long time now I have been racing with a good deal of success, a Scalextric Toyota F1 No. 24 2002. It’s been a good model and with the odd tyre change it has served me well. With the advent of the FF motor to Scaley F1’s it has become a little harder to keep pace. The Toyota still runs well and in spite of what we are lead to believe, the FF has a bit more grunt (torque) than the aging ‘S’ can and can do the deed without all the drama. So, the time came for an update. Without doing too much research and accepting (naively) that all the latest Scaley models should be not only competitive, but more than comparable regardless of model, I ordered a current Renault F1 ( No.4 2007) with the intensions of competing in an open wheel event. I could have run my A1 Switzerland but it was time for an update and what better occasion!
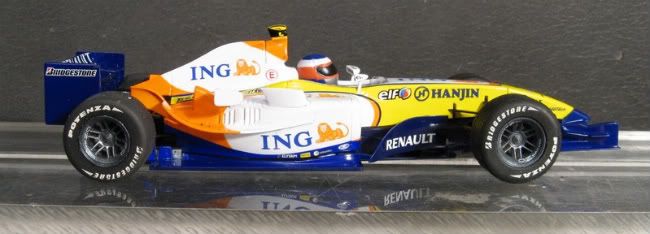
The Renault duly arrived and after some minor bench top setting up at home (I don’t have a home track!) I set off for the event with the new model in hand, plus a few for other classes. I arrived early and decided to give all the models a run to determine which were going to be the best ones for the classes. On the large four lane Ninco track the traction magnet was going to play an important part. JGTC cars were run at length. GT modern cars were run at length and finally and quite mistakenly, the F1 was put on the track for a precursory work out!
Disaster is probably too fine a word to use. The model displayed all the attributes of an early fridge magnet Scaley. Every corner was a nightmare and how I managed to get it through the opening test laps without breaking something, I do not know! Coupled with a controller that was loosing brakes every now and then I was starting to panic somewhat! The car was diabolical. Straight from the box it was a lemon and it was to prove to be the worst F1 I had driven in recent times. So what had gone wrong?
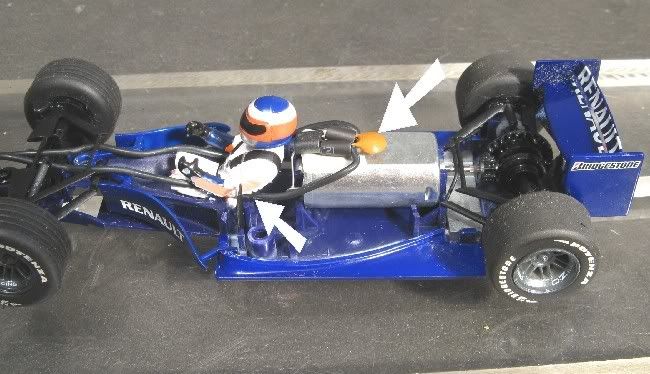
Fortunately a good friend and co racer came to my rescue with a Scaley Williams BMW. This was ten times better than the Renault and was to prove far better to drive and even though it lost a rear wheel on at least two occasions! The difference was down to the magnet. The Williams has an early solid bar magnet and the Renault has the ‘terraced’ magnet. Thinner in the middle and hefty at the outside as well as being a bit broader. The BMW would pull the nails from a horses shoe but the Renault’s magnet was going to have to be a bit closer to the horses shoe just to pull some rust off!! So, with the problem identified I decided to carry on the post mortem at home the next day, and an eye opener it certainly was.
Chassis on the magnet gauge
So what went wrong with such a new model!! I’m sure Scaley wouldn’t foist something like this on the unsuspecting public. Their name has now too much riding on it to start selling duds. Sunday showed what was in the back of my thoughts. The model is a potential race winner but has got some issues that may be overlooked, especially in assembly, but the main problems were design problems.
Magnet recess cleaned up
The model is full of good ideas and great detail but somewhere between the CAD drawing and the assembly line there had been several mess ups. So much so that the model was wound up tension wise like a clock spring, and as the screws came out, so the body and chassis settled into their natural resting form.
Firstly, when screwed together, the chassis has a hump in it which holds the traction magnet off the rails by a considerable amount. This accounted for the poor traction. Secondly, there were ominous gaps around the model where it was supposed to fit snugly but didn’t. The chances of getting the body and chassis to fit and the magnet near the track looked a light-year away, but, with skill developed over the years, I was determined to get this thing licked into shape. The following is a legend of what had to be done!! Enjoy.
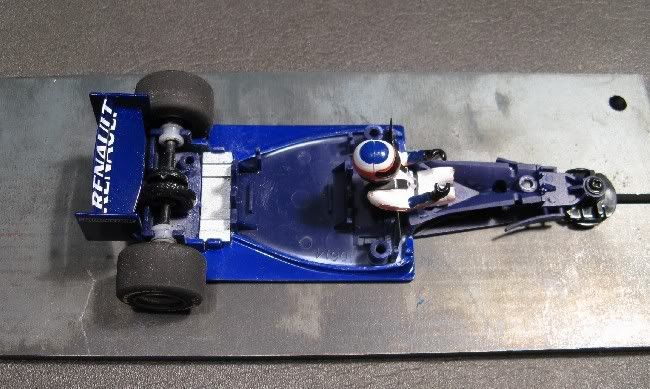
Rolling chassis
The model was a case of rebuild from the ground up. I would take the bare chassis and refit the rest bit buy bit and stop at each interval if I wasn’t happy with the progress. The chassis would retain the rear axle and the guide and I would be able to place it on my steel ‘magnet gauge’ after each modification to determine if there was a problem. This would show up in the form of the chassis sitting higher above the gauge.
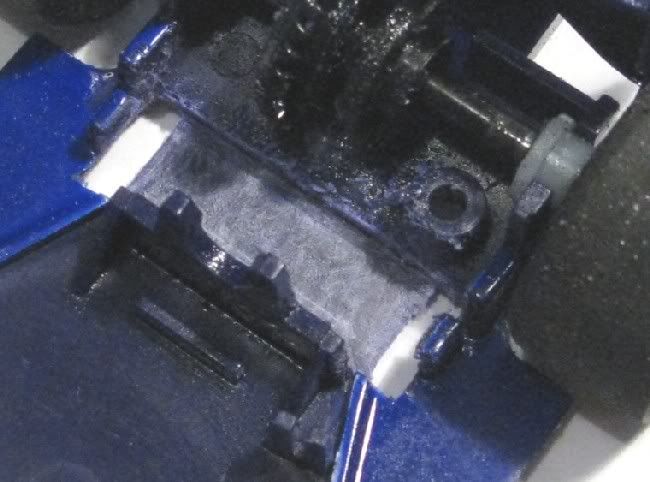
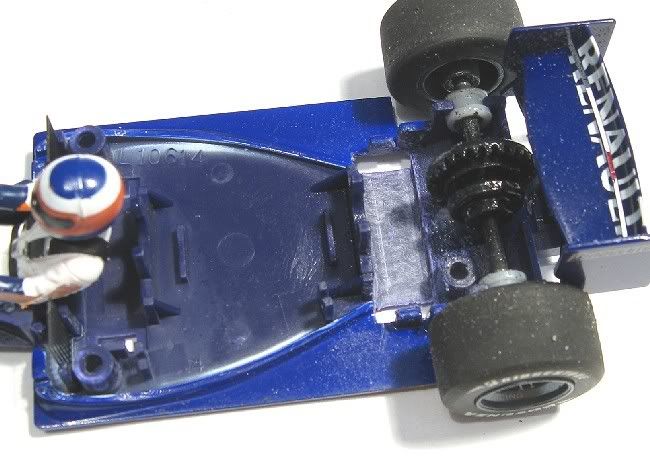
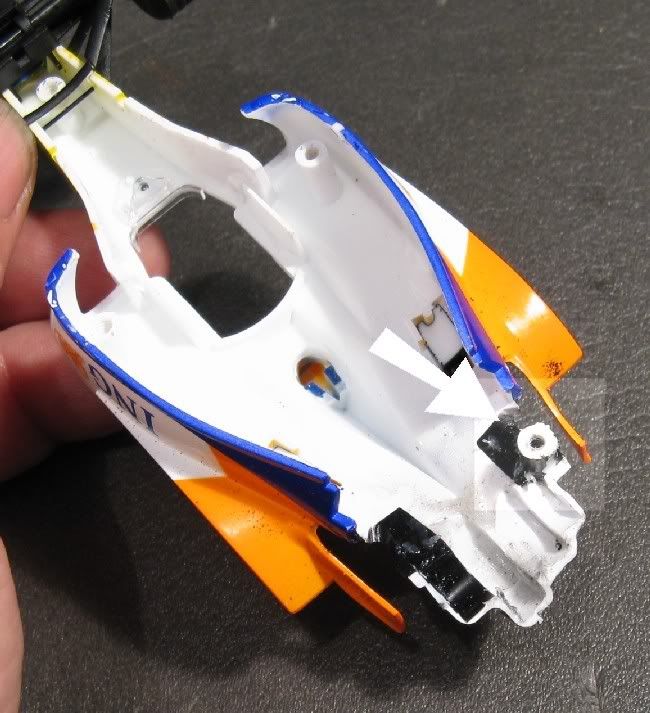
The magnet recess
I didn’t have to go far as the first step was to remove the magnet. It was showing an air gap at the edges of its recess when viewed from underneath. The motor was removed and this allowed me to get a better view of what was going on at the rear. The magnet was removed and lo, underneath it was a pot pourri of colours where the body paint had got somehow into the magnet recess. This was holding the magnet up off the base of its recess. Not much, but with magnets every millimetre counts. For this job I fitted an inverted conical bit into the ‘dremel’ and lightly ground away the paint to the edges. Needless to say this also took a little magnet recess with it but the thickness it comes at leaves little room for error, it is that thin!
Inside of the tub ground back
Once completed and happy, I placed the tub over the chassis. This had its own issues too. The driver’s elbows press hard against the sides of the tub and as a consequence, his hands clamp hard to the steering wheel as it passes through his grip.
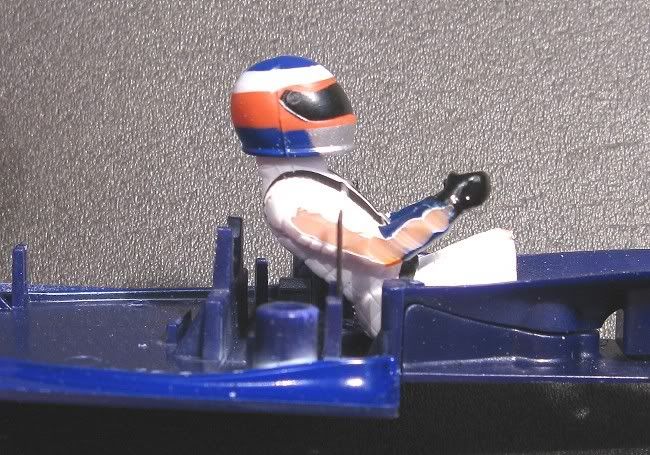
Driver’s arms shaved
I took some material away from the tub inner walls and with the problem still apparent, I then shaved the outer parts of his arms until the tub slipped smoothly into place onto the chassis. This isn’t visible externally but you could put a splash of paint on it if you feel like it. Once the tub fitted over the driver there were the rest of the bits to refit. Rear wing, rear suspension detail, front axle and suspension and front barge boards to name most. Not forgetting the motor has eventually to go back in.

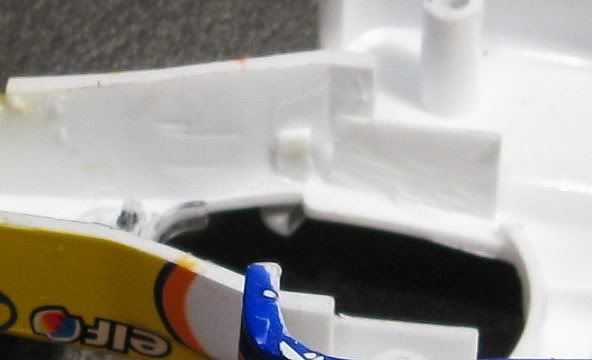
The rear wing
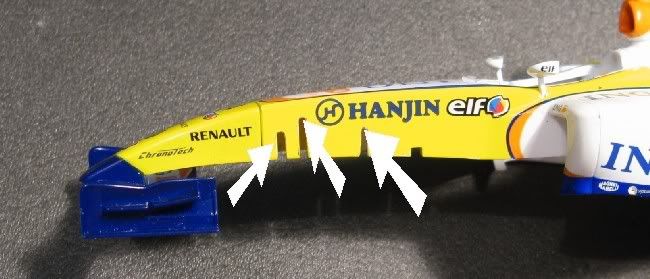
The rear wing was next to go on. Once screwed in firm the chassis became raised on the gauge. Further investigation showed the rear of the tub, which covers the contrate, was catching on a protuberance on the rear wing mount? I ground this off and also, after several more fittings, had to grind away a small piece of the contrate cover. The chassis once more sat flat on the gauge. Next was the front axle and suspension. This had fewer problems. The suspension arms were bottoming out in the cut-outs in the front body section. This added a degree of pretension to the front and caused the body to ride up if the screw was backed off.

Front suspension mod
The simple solution was to extend these slots with a cut off disc and a sharp knife. Next was the barge board moulding. The front of this goes between the body and the front suspension or it creates a clamping moment about the front end. The tiny cut outs to take the rear lugs were enlarged slightly to prevent a pinch occurring at that point and causing the body not to sit on the chassis.
Elongated suspension slots
Further tests on the gauge showed it to be coming along nicely. Lastly, the rear suspension detail was fitted and all looked good. Without any screws in place, the whole went together well. The motor was refitted and once again the tub was refitted.
Offending RI parts were removed
The last problem was the RI parts were fouling inside the top of the tub. I normally don’t mess with these as they don’t slow the model and they are not a problem, but in this instant I was prepared to mess with them so the soldering iron was plugged in and off they came!!. The lead wires were refitted alongside and below the motor.
Now was time for screws to go in. The two main screws either side of the tub went in, the front screw went in, all ok. And lastly the rear screw. The rear screw caused the chassis to lift up a fraction once more. It was fine off the gauge. No magnetic downforce to play cantilevers with, but once back on the gauge, the tightened screw caused the chassis to bend in a concave shape, away from the track.
The rear mounting peg
I cut the top off this, just the width of a cut off disc, and angled it towards the back slightly. This encouraged the chassis to straighten up and allowed it to adopt a convex profile when on the gauge with the two tub screws loosened.
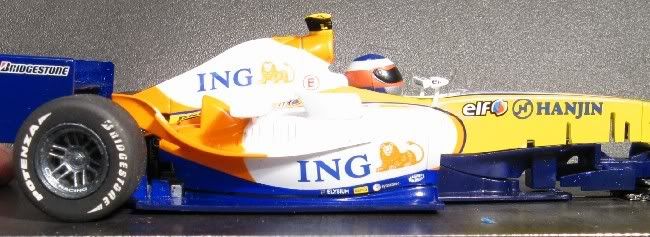
The tub on the chassis
With the end in sight I placed the model on the gauge with all screws tight. Now it had a respectable track stance and fine tuning in the form of slackening the tub screws and the rear crew showed that the magnet height could be influenced depending on the amount of screw pressure. The tyres had been ground well past their grooves; this was done in a moment of panic at the track trying to get any grip at all. But they hadn’t been ruined. The tyres were left on and a good stance was now achievable. The model with its stepped magnet now demonstrated as much grip as the old trusty Toyota, although not as much as the Williams I might add! Ground clearance was now in the order of just off the rails!! If it didn’t work now, there was no hope!
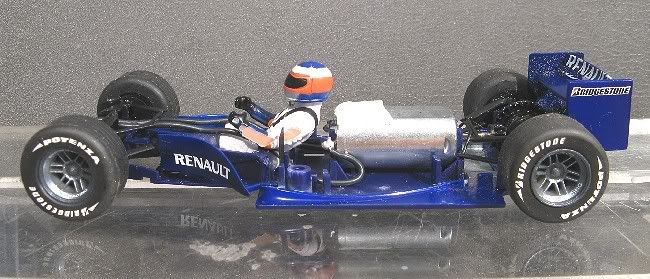
Monday night was Graceville and before the rabble arrived I decided to give the Renault a run, not so dusty now! Far, far better in the corners and unbelievably quick down the straight. But it still wasn’t as quick as the A1GP’s overall. The last solution would be to replace the stepped magnet with an earlier bar type. This would give me the downforce I am missing, but in the meantime, the model is 5000% better!
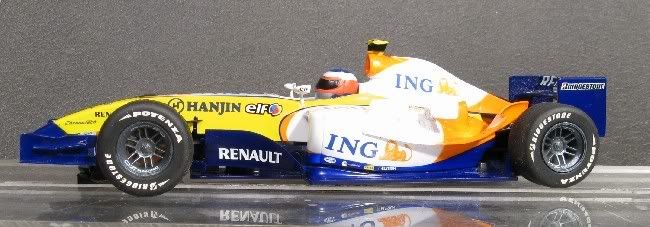
The finished stance, check out the ground clearance
Update
I took the Renault for a lonely midnight spin after a Slotcar Legends meeting at the Graceville track. The car had the new magnet in and I was prepared for a model which may of well got bogged down but to my surprise, the model was still very driveable. It showed signs of scraping the chassis along the conductor rails so I took the tub screws up until it cleared the track. Performance was little short of miraculous. It has gone from being a model which had difficulty in keeping up with the slowest models to one which could easily be dominant. In fact, after several laps of the familiar circuit I did a best lap of 17.45 seconds. That is the fastest lap recorded on this circuit!!
UPDATE The Renault has now achieved an optimum lap time of 15.3 secs on the seventy metre plus circuit!!!
