.
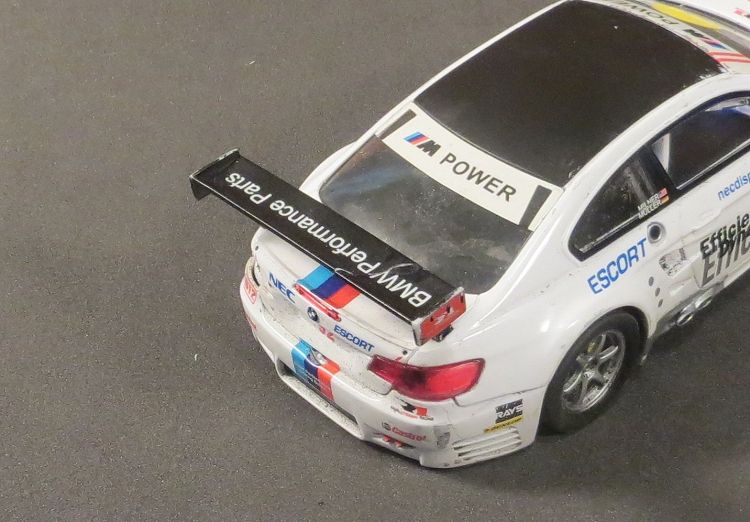
For some of us there is nothing more disheartening than to run a model in a race only to be caught up in a crash which may have been induced by others, and as a consequence lose a much loved wing from a favourite model. Needless to say it is an inevitability, and all of us must have had that sinking feeling at least once when a corner marshall, after reslotting a couple of models, shouts “who’s is this?†while brandishing a familiar piece of brightly coloured ABS in the form of your car’s rear (or sometimes front) wing!
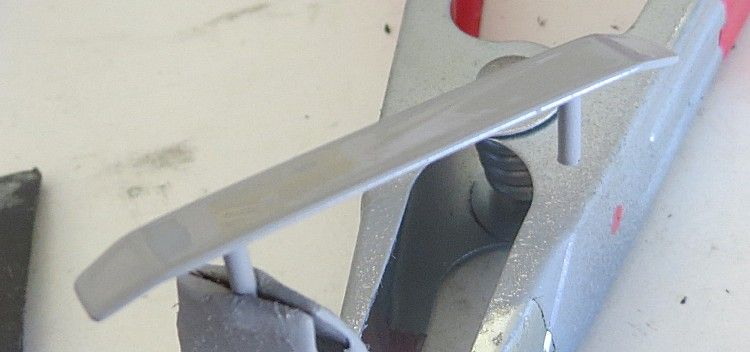
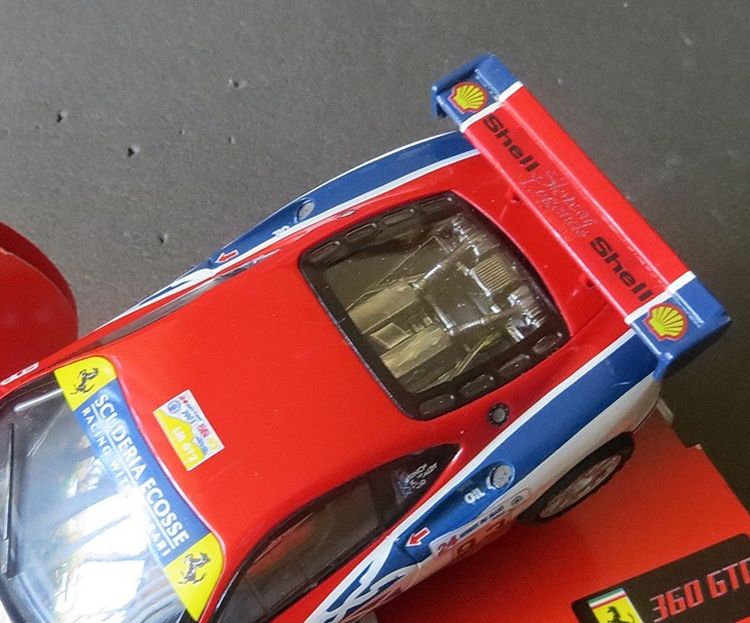
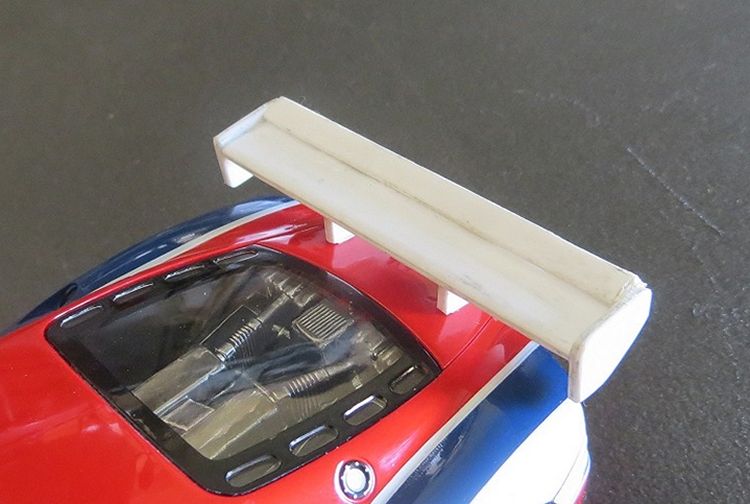
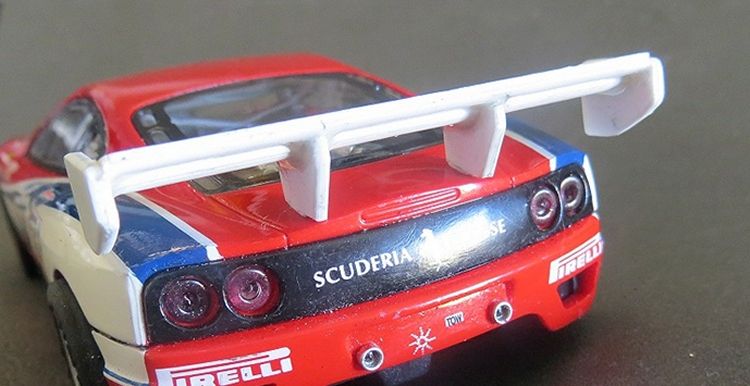
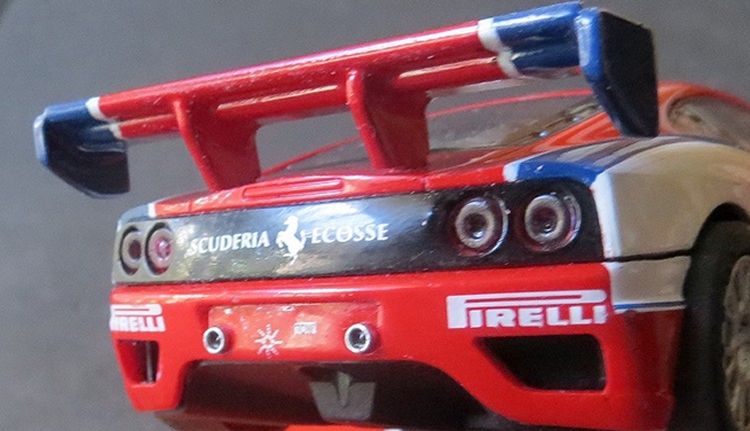
A replacement for the SCX Ferrari 360
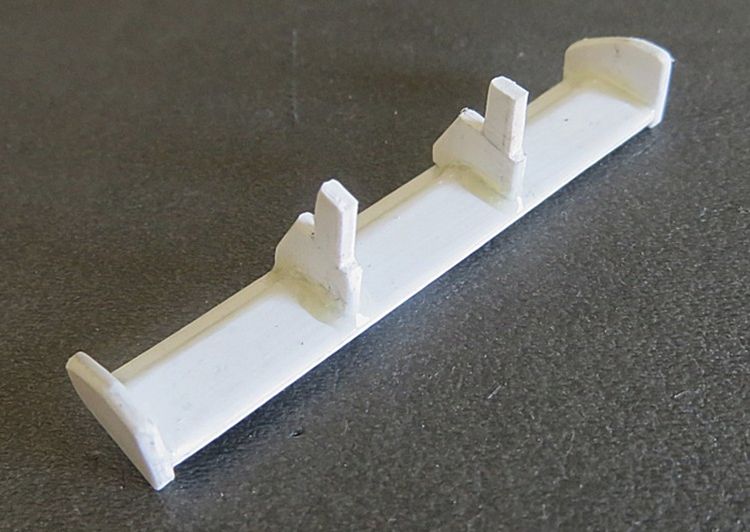
hard to see but this is laminated
The problem starts when you think it is safe to come out of the woodwork and put one of your shelf queens on the track. Even on an empty track you can become over confident and loose it on an otherwise safe bend and connect with something exceedingly stationary and hard, and Bob’s your uncle, another model is about 2 grams lighter!!
Some manufacturers have acknowledged this phenomena and some, Carrera in particular, make those vulnerable bits a little more durable for the cut and thrust of competition. To this day, most of their models have removable wings and door mirrors; this allows the proud owner to put their favourite model on the track “sans breakablesâ€, and go their way in confidence knowing there is nothing left to snap off in a shunt!
Some manufacturers, like Scalextric and SCX, have issued models with bendy flexible door mirrors to reduce the tear threshold. Another option is to remove these parts yourself and make them “pull out†or “fall out†in the event of an unforced error on the track. This I have done quite successfully using a 40 watt soldering iron.
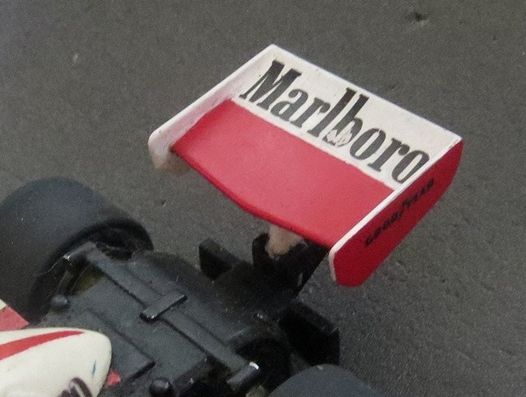
An Airfix – MRRC McLaren M23 !
This is achieved by removing the chassis to expose the heat welds of the vulnerable bits on the inside of the body. The hot soldering iron is held three to four millimetres below the fixing and a little effort is applied to the appendage from the outside. Once warm enough, the mounting post will soften and the door mirror or wing pylon will slide out of its body location.
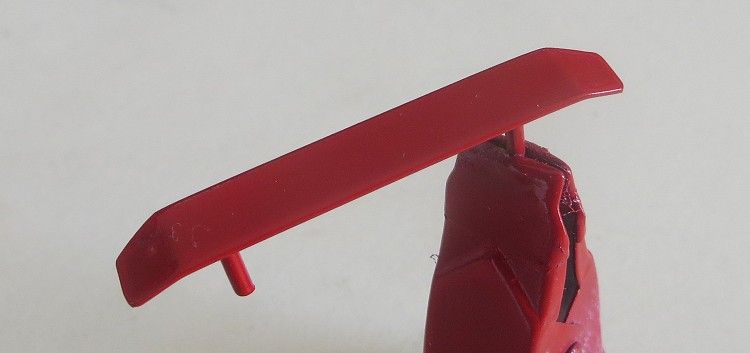
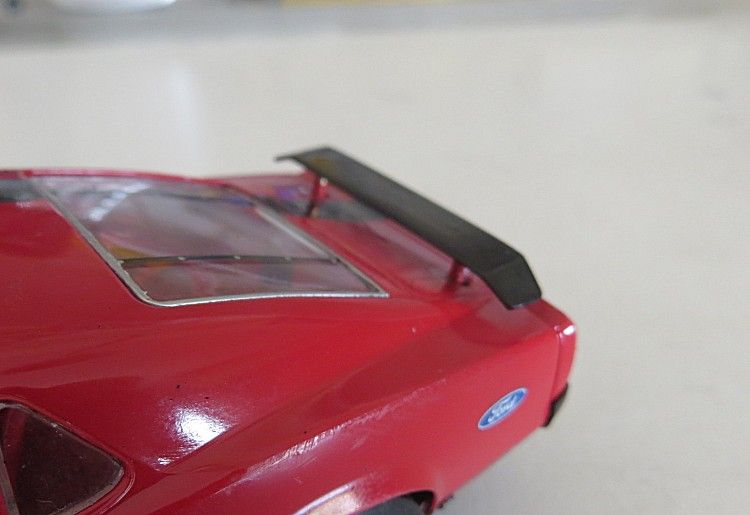
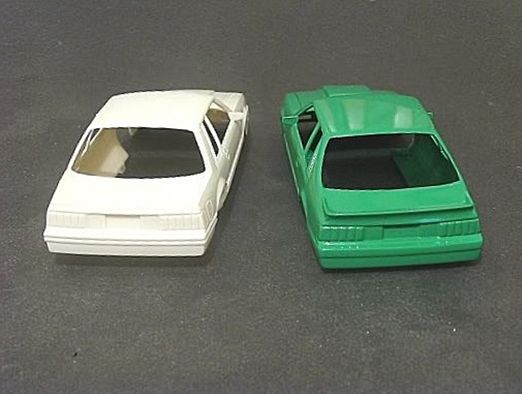
Good fit! Time to paint!
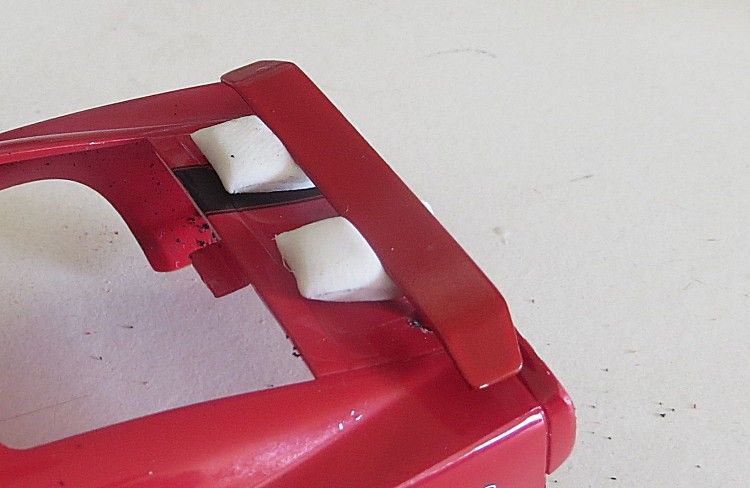
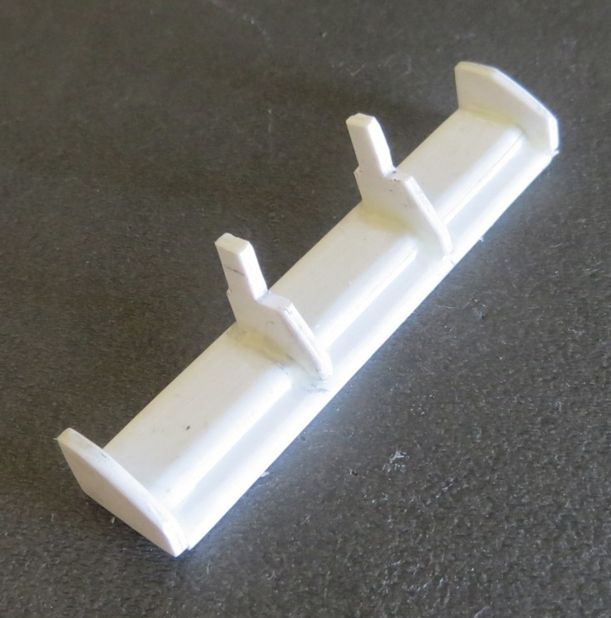
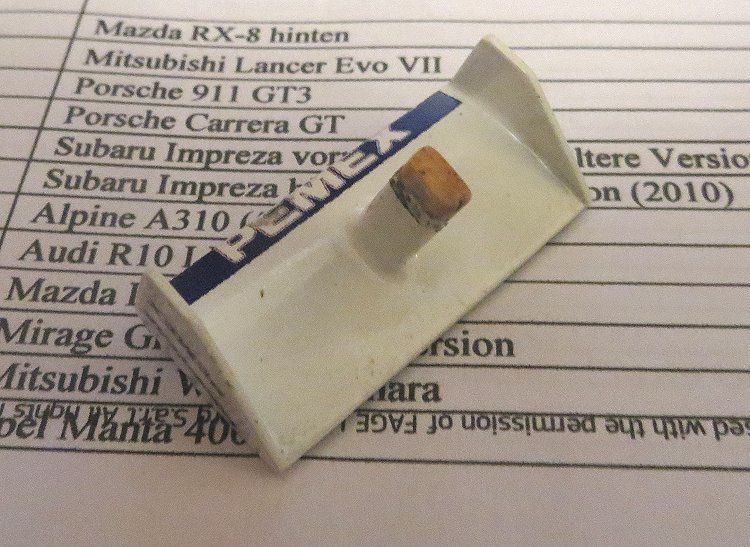
But inevitably we get caught out, but what can we do about it? In the past I have had several classic Scaley models that have been deprived of their aerodynamic parts either by racing or by not having them when I purchased them! In these cases I have developed and fine tuned the art of creating “replacement†wings. This is achieved by copying the lines of the broken or missing wings in polystyrene sheet material.
A March 0-2-4
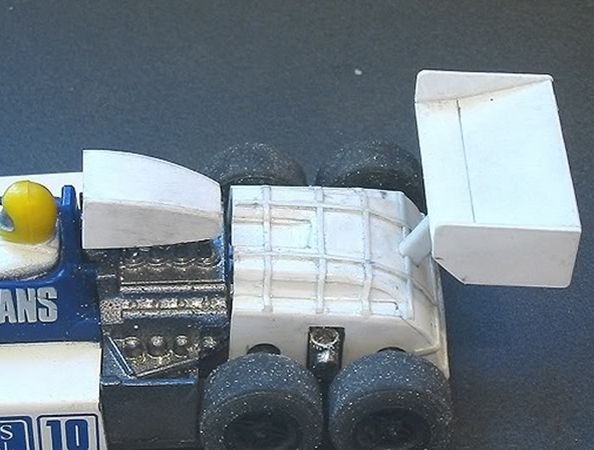
Also did the intake and a mock gearbox covering
the 4 X 4 rear wheel drive!
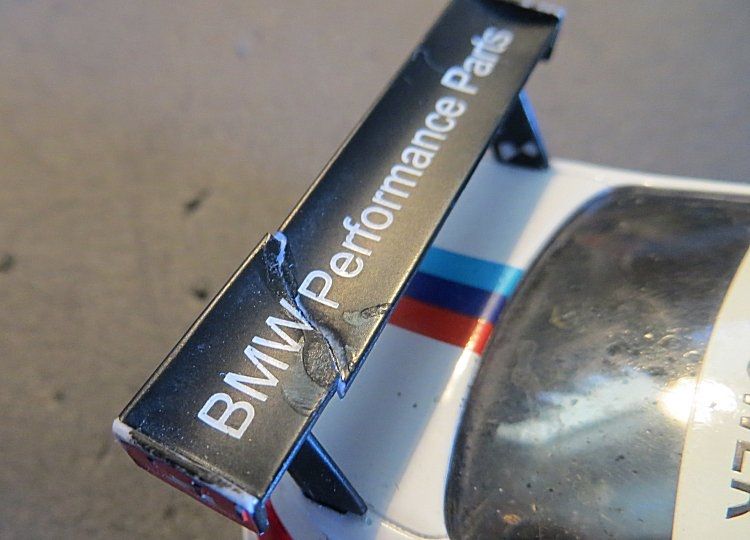
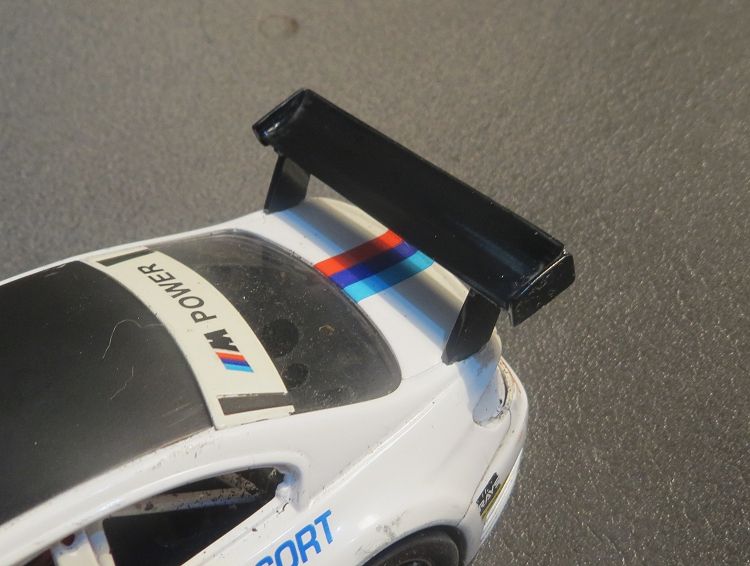
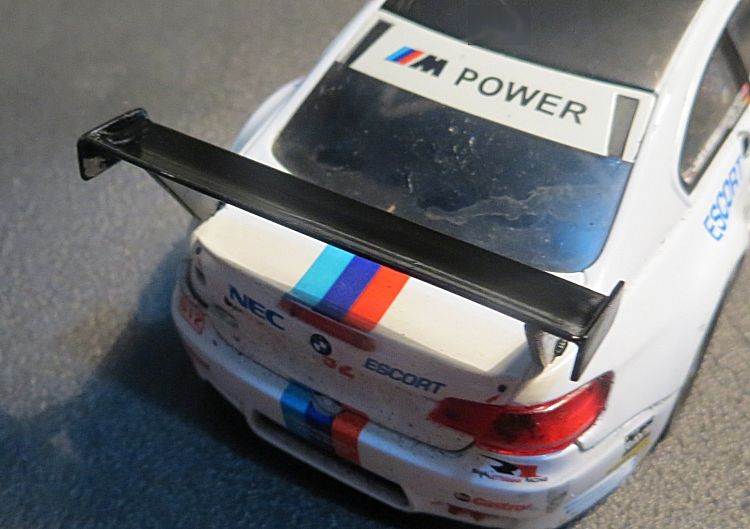
After some careful measuring it is a simple task to reconstruct a wing, piece by piece, to make it look as good as, and sometimes better than new! Spread throughout this text are some examples of my work. I suggest that for the most part they are quite effective and are indistinguishable apart from the real thing! I tend to determine the thickness of plastic required and then glue two thinner strips together. This is a type of laminating (a bit like plywood) which I feel gives the finished item more flexibility combined with strength, and less chance of breaking again.
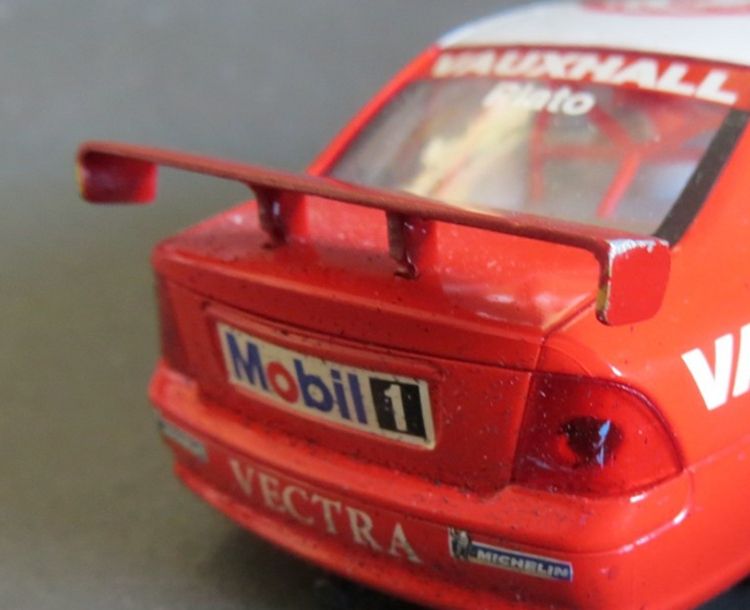
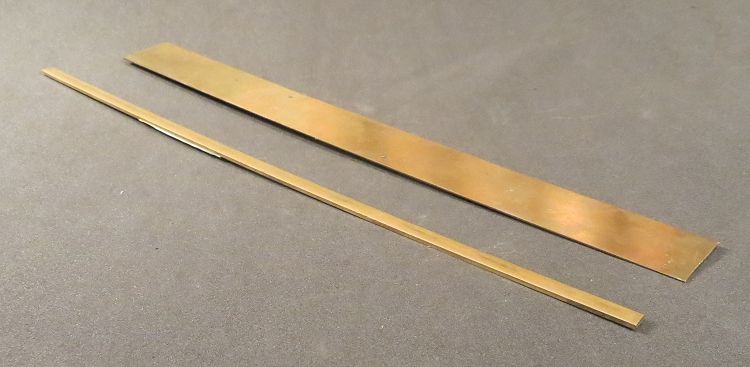
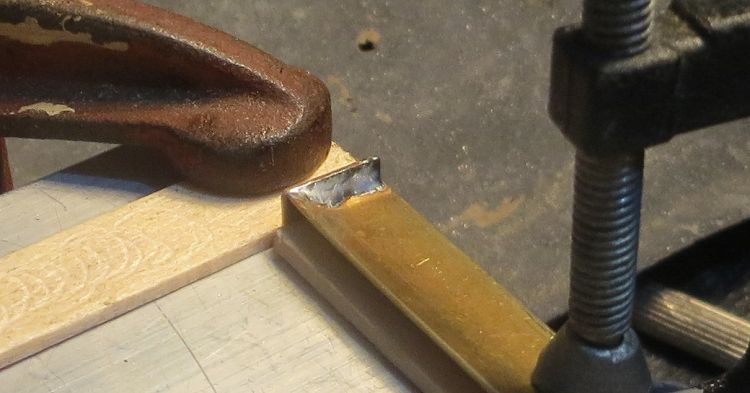
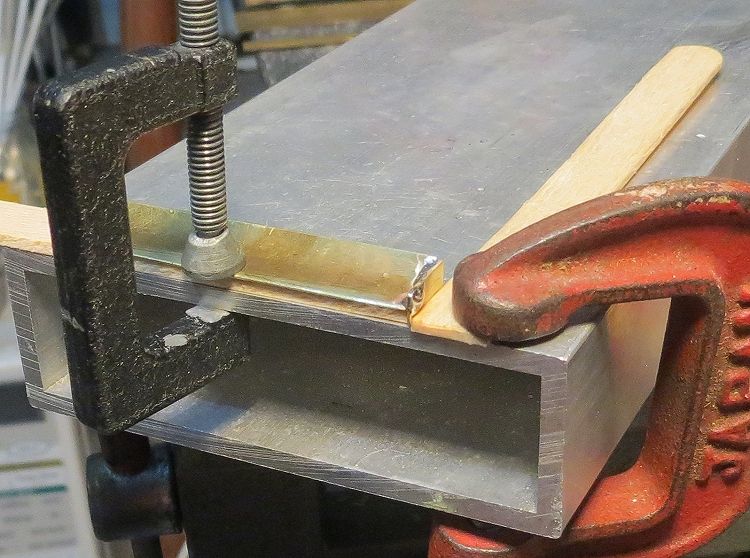
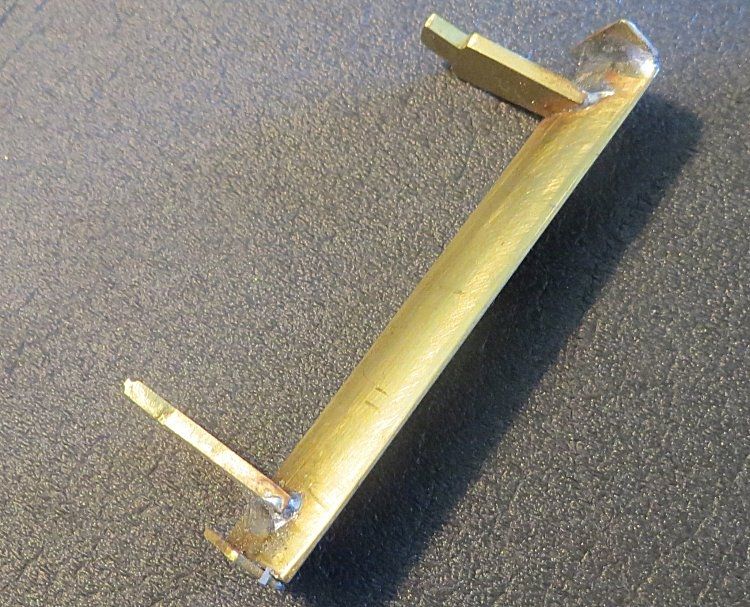
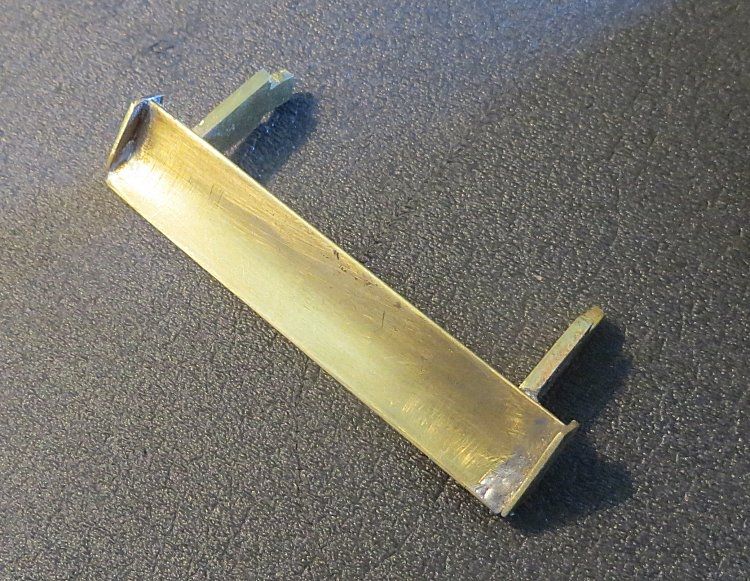
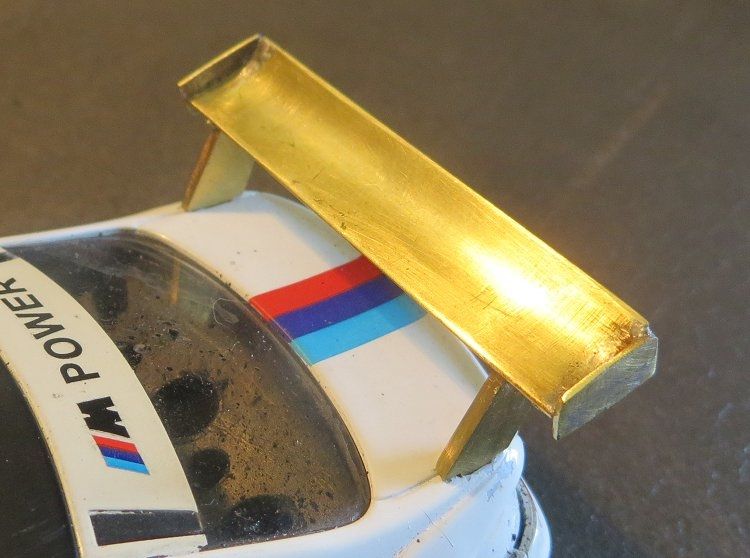
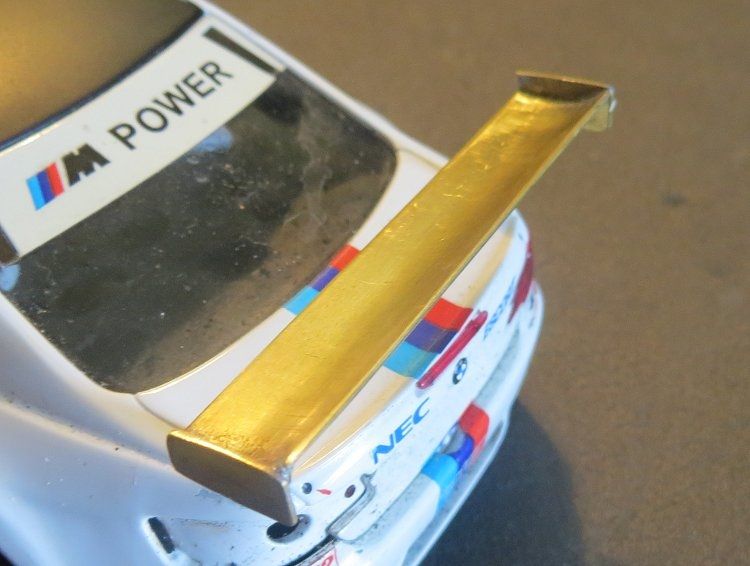
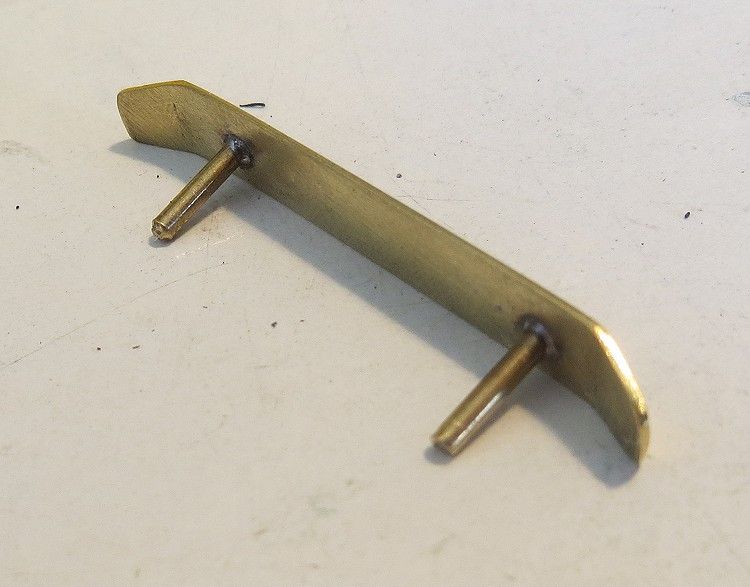
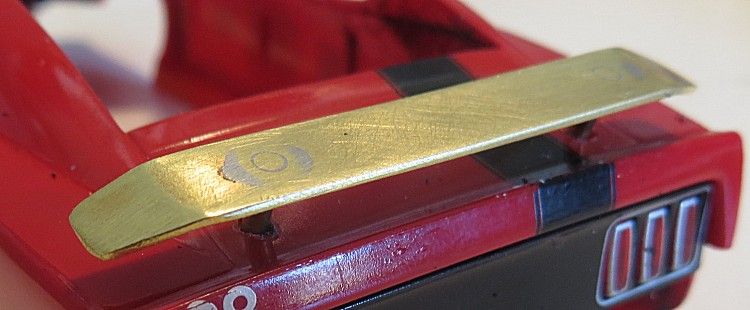
A solid brass wing for the Vectra tin top
Another dread I have is the immovable open-wheeler front wing. I’m sure there are a few people reading this who have a classic Scaley Williams or Brabham, or even a modern Indy car missing either one or both of its front wings. The solution here is not to break them off in the first place, big ask? probably; the solution is to brace them against potential harm. This is called risk management and some simple control measures will greatly minimise the chance of breakage.
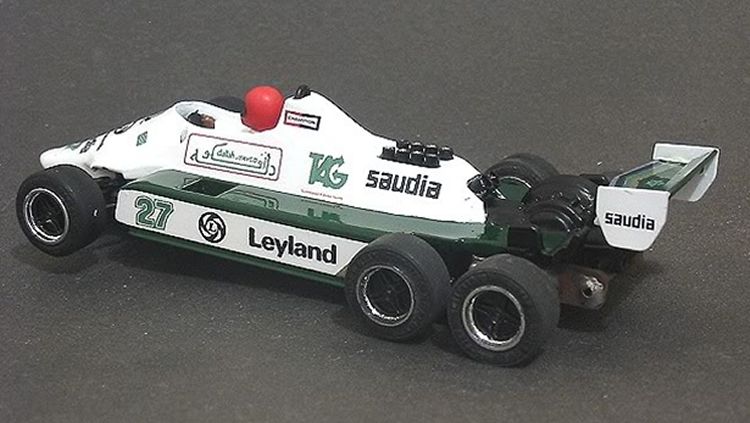
Williams FW08b
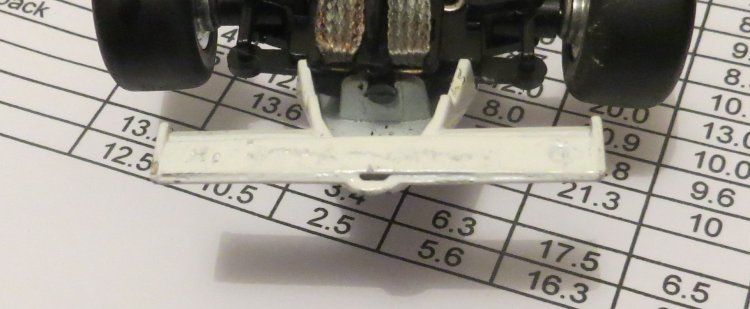
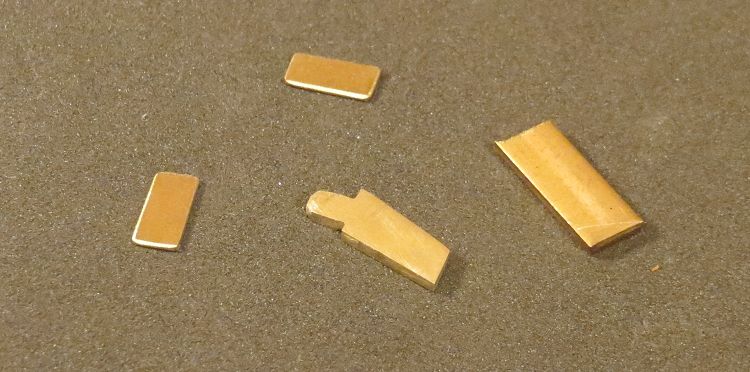
With these models I drill six shallow 1/16th holes underneath the wings in question; don’t drill completely through the wing, but just shallow enough to create a key for the adhesive you are going to use. Next, cut a thin strip of reasonably thick brass and drill six 1/16th holes through it down its centre. Next, apply the adhesive (in my case, superglue) along the underside of the wing and place the metal strip onto this adhesive, then leave somewhere safe for 24 / 48 hours to harden and cure. Painting is optional!
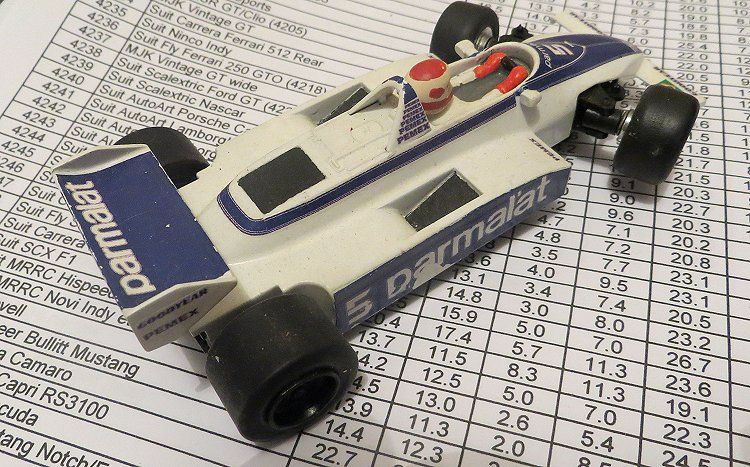
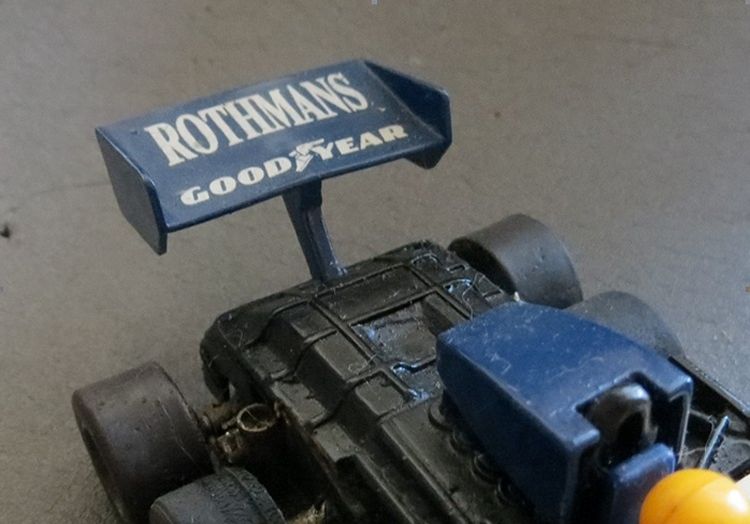
MRRC Brabham BT49
So that’s about it except to say that root cause analysis tells me not to put the models in harms way in the first place; this is readily achieved by having safety measures at all the hazard points around tracks. Remove or guard rigid impact areas and make sure models leave the track into run off zones when deslotting, preventing others running into a stationary model. Soft tyre walls are becoming ever popular but they need to be in front of real track hazards and not plonked down somewhere because they look good in that spot.
The zones with the highest mortality rates are at the ends of long straights or on the second half of fast sweeper corners where extra speed multiplies the damage effects. This coupled with marshall lethargy can easily lead to you leaving the room with moistened eyes!! Talking of marshalls, one successful system I have raced with is the placing of the lane stickers under the model! This causes the marshall to have to lift the model clear of the track and overturn it to see the lane sticker!!
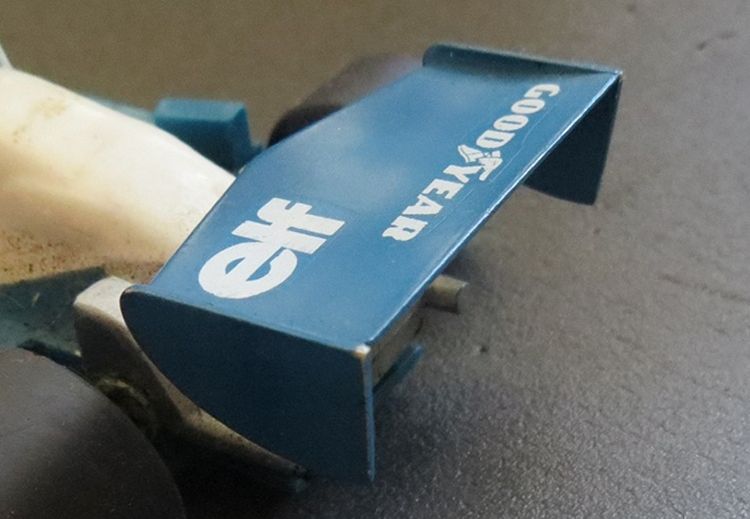
Scaley Tyrell 007!
Normally marshalls dither and slide models across the track surface to reslot them; with the requirement of having to lift and turn the model over, marshalling incidents involving cars driving into cars being marshalled is greatly reduced. There were some complaints at first but the general consensus was that it was the better solution, and my reply (root cause analysis again) to those who persisted in complaining was to recommend they didn’t come off in the first place!!
Et Voila!
So practice a few spoilers on some scrap models and when you think you have got it right you might like to start replacing the good wings with the dispensable ones and preserving the real ones for when the model is retired to shelf queen status!
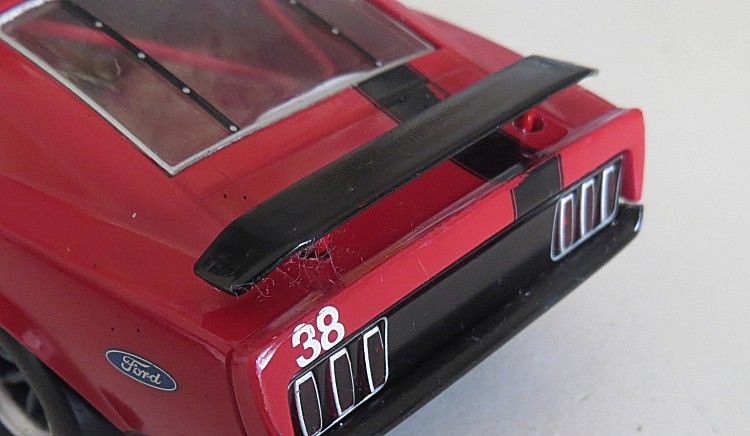
Dick Johnson Mustang
(Decals were invariably purchased from Patto’s over the years).